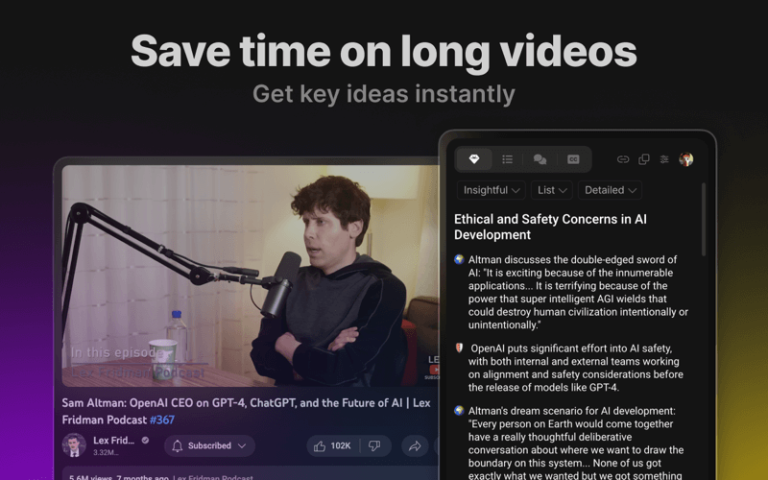
Curious about how to effortlessly convert your blog into an engaging video using AI? You’re in luck! This guide will introduce you to the best free blog-to-video converters available today. Video marketing is an incredibly powerful tool, helping to expand your reach and significantly boost engagement, leading to higher conversion rates. However, creating video content can be daunting and expensive for many. The solution? Transform your existing blog posts into compelling videos with advanced AI Video Generators. No need for technical expertise—just follow along, and we’ll show you how to get started!
Why Convert Blog to Video?
Increase Engagement and Boost Conversions
When your audience watches a video about something like an easy breakfast recipe or quick hairstyling tips, they’re more likely to engage and remember the content. A captivating thumbnail entices viewers to click, boosting conversions through a strong call to action.
Convey Your Message More Effectively
Visual content is far more impactful than text alone. For example, demonstrating how to cook a dish in a video is more engaging than simply writing about it. Videos deliver your message in a more vivid and memorable way.
Expand Your Reach on Social Media
Videos have a better chance of catching attention on platforms like Facebook, Instagram, and LinkedIn. Instead of just using an image and text, embedding a video in your posts encourages more interaction, increasing your visibility.
Save Time and Money
Creating original video content can be expensive and time-consuming. Using AI to convert your blog posts into videos is a quick, cost-effective solution. The process is user-friendly and requires no special video editing skills.
Boost Search Engine Rankings
Video content can significantly enhance your SEO efforts. Uploading a video on platforms like YouTube not only reaches millions but also improves your chances of ranking higher on Google SERPs. Embedding these videos on your website further increases visibility and audience reach.
5 Best Blog to Video Generator You Should Try
Turning your blog content into engaging videos is an excellent way to repurpose your existing material, reach new audiences, and boost your content marketing strategy. Whether it’s for social media, your website, or email campaigns, video content often grabs more attention than text alone. Below are five top blog-to-video generators that can help you transform URLs into visually engaging videos quickly and efficiently.
Summary of Key Pros and Cons:
- Creatify AI: Easy to use for beginners with basic design tools.
- Vidnoz AI: Excellent for multimedia-rich videos with a free plan to try.
- Pictory: Best for speed and ease but limited in customization.
- Lumen5: Highly user-friendly with great branding options but limited in its free version.
- Synthesia: Professional-grade, multilingual video presentations but costly.
Creatify AI
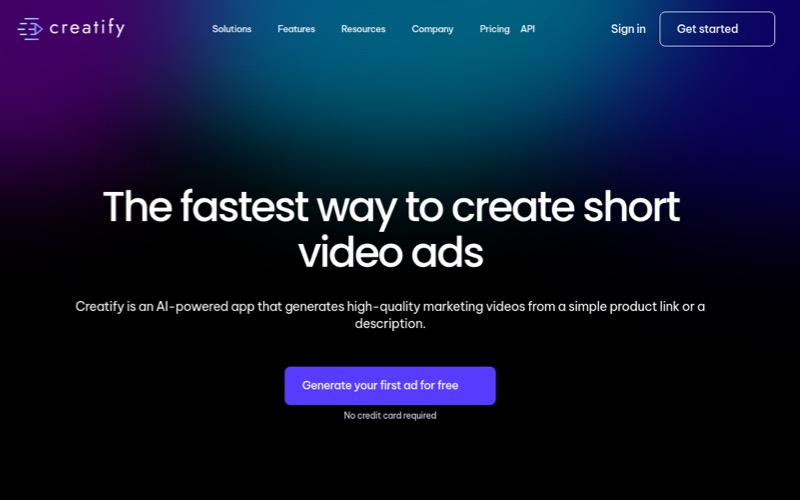
Creatify AI is known for its ease of use, providing a drag-and-drop interface that allows users to quickly convert URLs into engaging videos. It’s perfect for individuals or small businesses that want to create simple, clean videos without the need for advanced editing skills.
- Pros: Creatify AI’s simplicity is its major selling point. The platform allows users to create videos quickly with minimal effort. It also provides various design themes, making it easy to create visually appealing content.
- Cons: While Creatify AI is easy to use, its design tools are relatively basic compared to more advanced video editing platforms. Some users might find the available templates too restrictive.
Best for: Beginners or small businesses looking for an intuitive, straightforward video creation tool that doesn’t require design expertise.
Vidnoz AI
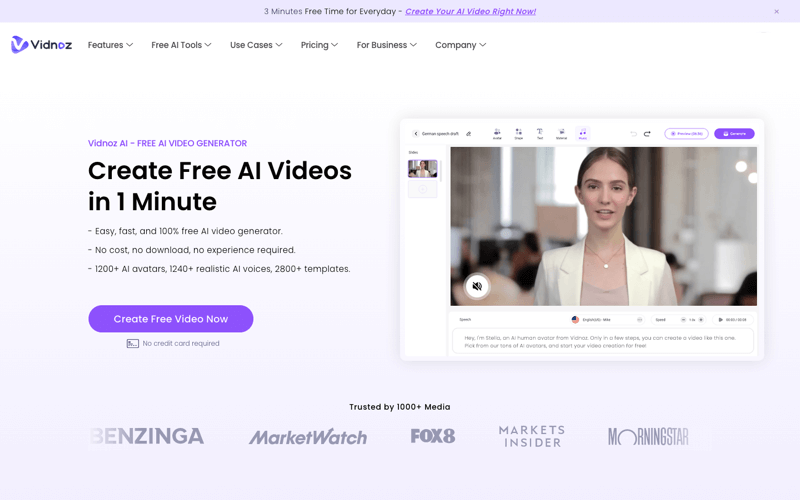
Vidnoz AI is another powerful tool that helps transform text from URLs into videos. It stands out for offering a rich variety of media elements, such as images, GIFs, animations, and music, to help users create visually rich videos.
- Pros: Its user-friendly interface allows users to create videos with rich media content and custom animations. The platform also supports a variety of export options, making it suitable for multi-channel publishing.
- Cons: The free version includes a watermark on videos, which might not be ideal for professional use. Also, advanced customization is somewhat limited unless you upgrade to a paid plan.
Best for: Content creators who want to create highly engaging, multimedia-rich videos for platforms like YouTube, Instagram, or LinkedIn.
Pictory

Pictory is a fast, user-friendly video generator designed for marketers and creators who want to turn long-form content like blogs and articles into videos. Simply input a URL, and Pictory extracts the key content to generate a short, engaging video.
- Pros: Pictory offers a smooth, fast interface with text-to-speech functionality, making video creation simple and accessible for users with minimal experience.
- Cons: While efficient, it has limited customization features. For more advanced video designs, users might feel restricted by its preset templates.
Best for: Content marketers looking for a quick way to turn blog posts into video snippets for social media or websites.
Lumen5

Lumen5 is a popular AI-driven video creation tool that helps turn blog posts, articles, or any other text-based content from a URL into dynamic, engaging videos. It’s ideal for users who want to create polished, professional-looking videos without technical expertise.
- Pros: Lumen5’s AI technology helps simplify the process of content extraction, making it extremely user-friendly. The platform offers many customizable templates, making it easy to align the videos with your brand’s look and feel.
- Cons: The free version is somewhat limited in terms of features, with fewer customization options and watermarks on generated videos.
Best for: Social media managers and content creators who need to create branded video content for digital marketing campaigns.
Synthesia
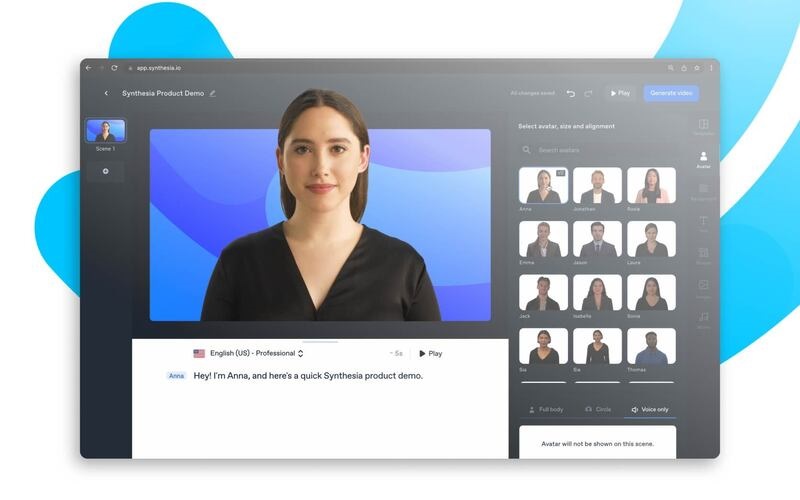
Synthesia stands out for its ability to generate AI-driven video presentations. It can take text input or URLs and turn them into lifelike video presentations using AI avatars and voiceovers. It’s especially beneficial for educational content, corporate training, or marketing purposes.
- Pros: Synthesia is known for producing high-quality, professional-looking videos that can be easily localized into different languages. It also supports custom AI avatars, offering unique personalization options.
- Cons: Synthesia’s premium service is relatively expensive, making it less accessible for smaller businesses or individual content creators.
Best for: Businesses, educational platforms, and corporations looking to create training materials or professional video presentations in multiple languages.
Each of these tools provides a unique set of features and capabilities that make converting URLs into videos a streamlined process. Whether you’re looking for quick social media videos, professional corporate presentations, or multimedia-rich content, these platforms offer versatile solutions.
Depending on your needs—whether it’s quick turnaround, customization, or professional presentations—there’s a URL-to-video generator here that can fit your requirements.
2 Practical Methods to Convert Blog into Videos
Method 1: Turn Blog to Videos with URL to Video Generator
Here’s a step-by-step guide to turning a blog into a video using Creatify AI’s URL-to-video feature:
Step 1: Visit Creatify AI
Go to the Creatify AI platform and sign in to your account. If you’re new, create an account.
Step 2: Access the URL-to-Video Tool
Navigate to the “URL to Video” feature from the main dashboard.
Step 3: Input Your Blog URL
Paste the URL of your blog or article into the designated field. Creatify AI will automatically extract the key content, such as text, headings, and images, from your blog post.
Step 4: Customize the Video
Once Creatify AI generates a rough video, you can begin customizing:
- Template Selection: Choose from various templates based on your content style and preferences.
- Text Adjustments: Edit or highlight important sections of text that will appear as captions or overlays in the video.
- Add Media: Incorporate stock footage, images, or GIFs from Creatify AI’s library, or upload your own media files.
- Music: Select background music from the available options or upload your custom tracks.
- Voiceover: You can either use AI-generated voiceovers or record your own audio to narrate the video.
Step 5: Preview Your Video
Before finalizing, you can preview the video to ensure the text, images, and animations flow correctly.
Step 6: Export and Download
Once you’re satisfied with the final version, you can export the video in the desired resolution. You can either download it or publish it directly to social media channels, depending on the platform’s available integrations.
Step 7: Publish and Share
Your video is now ready for use! Share it across your social media platforms, embed it on your website, or distribute it via email marketing.
Method 2: Convert Blog to Videos Copying the Content
Instead of just sharing your website link on social media, you can create an engaging video that highlights your website’s offerings. Vidnoz AI provides an easy way to convert a blog into a video, helping you repurpose content more effectively. Here’s how to do it:
Step 1: Sign Up and Log In
First, head over to Vidnoz AI and create an account if you don’t have one. Once registered, log in to access the video creation tools.
Step 2: Start a New Video Project
Click on “Create Video” and select “Start a blank.” You’ll need to choose your preferred layout from Landscape, Portrait, or Square. This choice depends on where you intend to share the video (e.g., YouTube, or Instagram).
Step 3: Choose or Add Scenes
You can either manually add scenes to your video or pick from the available templates. Templates offer a great starting point, especially if you’re unsure how to structure your content.
Step 4: Import Content from Your Website
Copy the relevant text from the URL you want to convert into a video and paste it into the “Speech” box. Vidnoz AI will use this text to generate a voiceover. You can select a voice that matches the tone of your content and adjust the speed to ensure the narration flows naturally.
Step 5: Customize Your Video
This is where you can get creative. Add elements like avatars, shapes, text overlays, images, and background music to enhance your video. These customizations help in making the video more engaging and aligned with your brand’s style.
Step 6: Generate and Review Your Video
Once you’re satisfied with the setup, click “Generate” to start the conversion process. Vidnoz AI will create the video based on your input. After the video is generated, review it to ensure everything is as you want.
Step 7: Manage and Share Your Video
Your finished video will be saved in the “My Creations” section. From there, you can manage your videos—editing, downloading, or directly sharing them to your preferred social media platforms.
This method turns your static website content into dynamic, engaging videos that are more likely to capture the attention of your audience across various platforms.
Conclusion
Now that you know how simple it is to convert a blog into a video, you’re probably excited to start your next project! Before choosing any free blog-to-video AI tool, it’s essential to carefully review its features, pros, and cons to ensure it’s a good fit for your needs. Additionally, some platforms offer full access only through paid versions, so be sure to do thorough research in advance to avoid surprises and make the best choice for your content creation goals.
