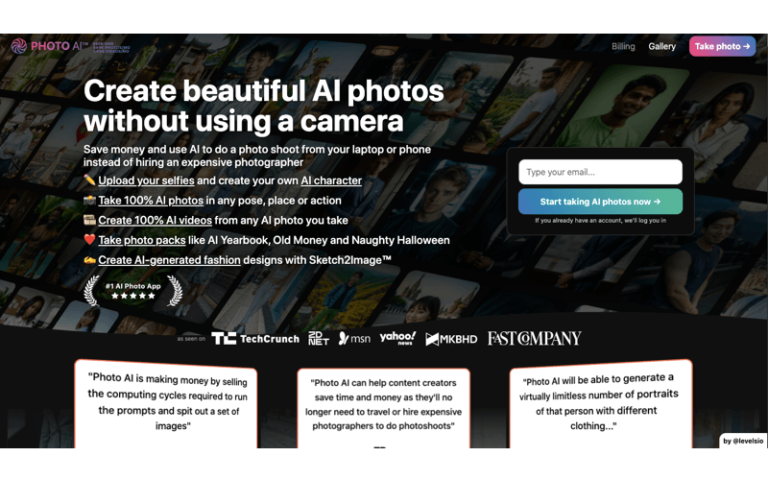
Photo AI is an advanced technology that utilizes artificial intelligence to transform the way we capture, arrange, and enhance photos. This cutting-edge solution merges sophisticated algorithms with machine learning to comprehend and interpret visual data, enabling it to execute a wide array of tasks with unparalleled precision and efficiency.
With Photo AI, photos can be automatically categorized and tagged based on their content, simplifying the process of searching and retrieving specific images from extensive collections. Additionally, it excels at enhancing photos by automatically adjusting colors, contrast, and other elements to produce breathtaking outcomes.
Main Features
Photo AI possesses the ability to identify and eliminate flaws from images, such as red-eye, blemishes, or unwanted objects, resulting in polished and professional-looking photos. Its advanced recognition capabilities even extend to identifying individuals and objects within images, making it an invaluable tool for photo management and organization.
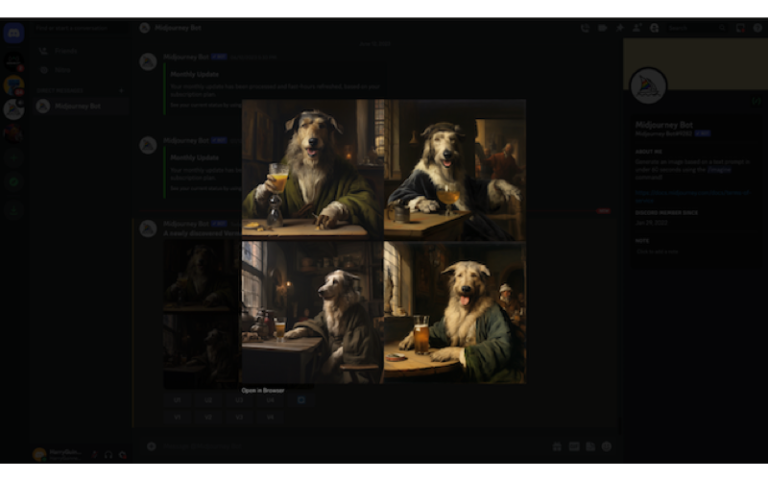
Moreover, Photo AI can generate lifelike images, simulate various artistic styles, and restore old or damaged photographs to their original splendor. Its applications span across industries such as photography, e-commerce, social media, and more, offering groundbreaking advancements in image processing and manipulation.
Overall, Photo AI signifies a significant advancement in the realm of visual processing, empowering users to achieve extraordinary results with their photos.
Pros and Cons
AI Influencer Creation
Cost-Effective
Customization
Accessibility
Innovation
Limited Quality Assurance
No Refunds
How to Use Photo AI?
Download and Install: Visit the official website of the AI photo editing tool (e.g., Topaz Labs for Topaz Photo AI) and download the software. Install it on your computer following the provided instructions.
Open the Software: Launch the AI photo editing tool after installation. You may need to sign up for an account or log in if required.
Import Your Image: In the software interface, look for an option to import or open an image. This is usually represented by an icon or a menu option like “File” > “Open” or “Import.”
Choose the AI Feature: Select the specific AI feature you want to use, such as noise reduction, sharpening, or upscaling. Each feature may have its own set of options and sliders for you to adjust.
Adjust Settings: Use the available sliders or options to fine-tune the AI processing. For example, you might adjust the strength of the noise reduction or the amount of sharpening applied to your image.
Preview and Apply: Most AI photo editing tools will allow you to preview the changes before applying them. If you’re satisfied with the result, apply the changes to your image.
Export the Edited Image: Once you’ve applied the AI enhancements, you’ll need to export or save the edited image. Look for an option like “File” > “Save As” or “Export” to save your edited photo in your desired format and location.